How to Draw a Cute Dog Using Pencil for Kids?
Step by Step methods to Draw a Puppy Dog using Pencil as a Sketch for kids and beginners.
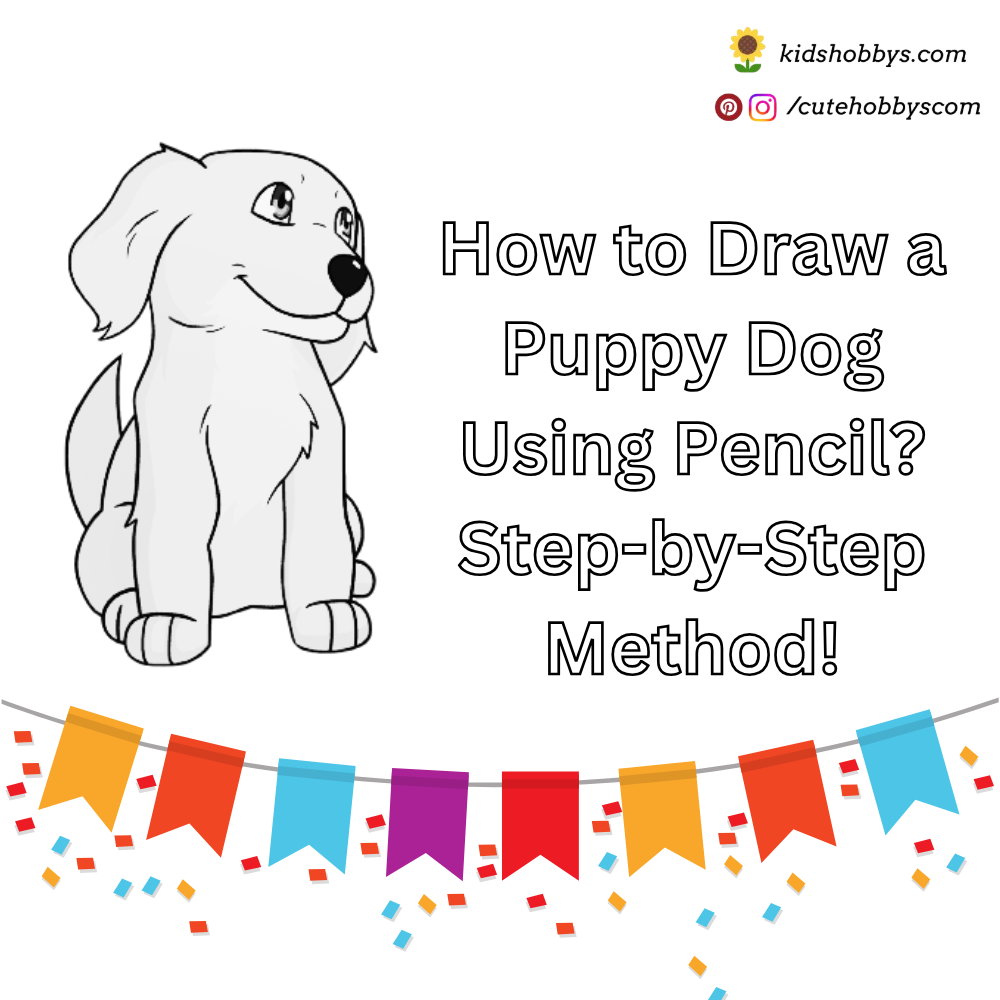
In this tutorial, I’ve posted the step by step methods to draw a cute dog using pencil as a sketches. This tutorial can be suitable for the beginners who are learning to draw cute animal images for their kids or kids learning to draw the images.
| Category | Details |
|---|---|
| Tools Used: | Pencil, A4 Paper, Eraser (Rubber). |
| Duration: | 5 to 10 Minutes |
| Difficulty: | Easy |
| For: | Kids, Beginners. |
| Suitable Ages: | 3 -10 |
Step 1: Drawing the Dog’s Snout
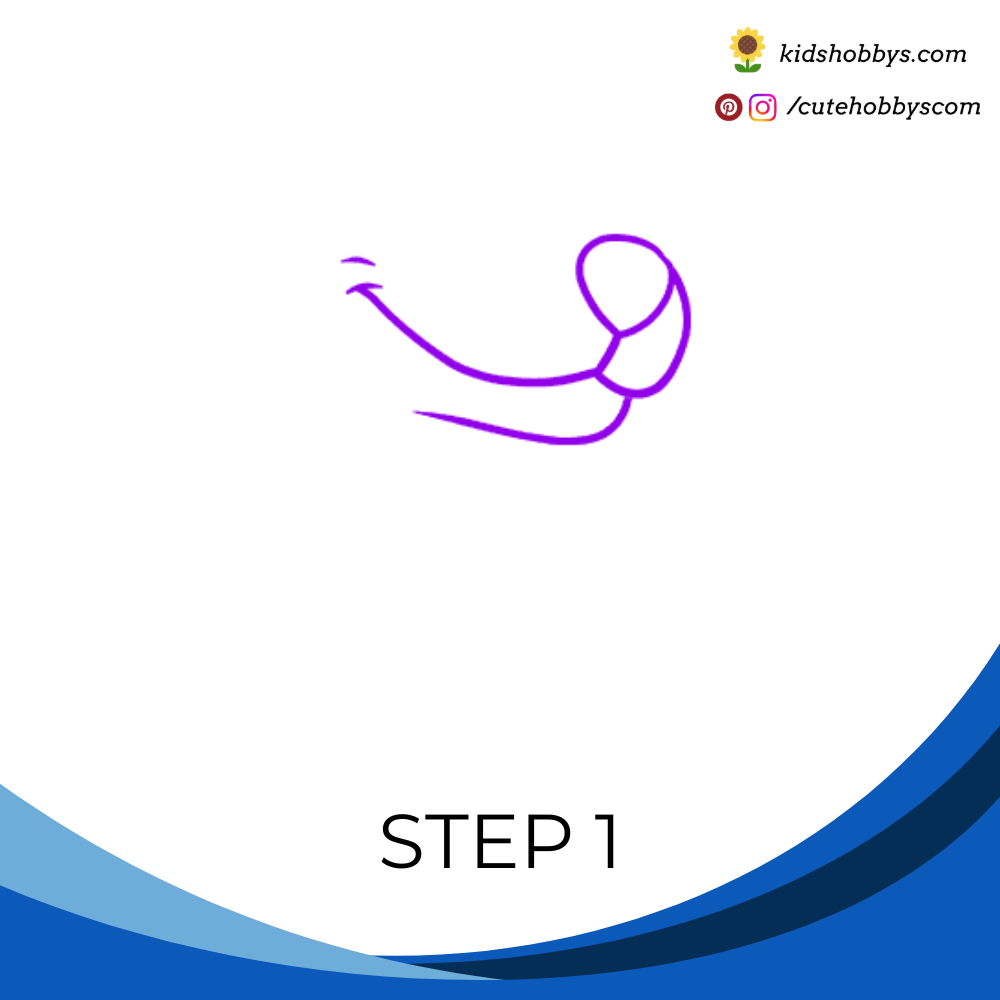
To start, the dog’s snout (or muzzle) needs to be drawn. First, the nose should be shaped like a rounded form with a small point at the bottom. Below the nose, a big, rounded “W” shape should be added to form the mouth.
Step 2: Adding the Eyes

Next, the dog’s eyes need to be drawn. Curved lines should be used to create two triangle-shaped eyes. Then, a curved line should be drawn from the far eye to the nose. A few short lines between the eyes will add extra detail.
Step 3: Drawing the Top of the Head

A long, curved line should be drawn, starting from the top of the nose and extending over the eyes to form the top of the dog’s head.
Step 4: Drawing One Ear

The dog’s fluffy ear needs to be drawn using a mix of long and short curved lines that meet at pointy ends. More curved lines inside the ear will add extra detail.
Step 5: Completing the Neck and the Other Ear

Step-5: Completing the Neck and the Other Ear
From the ear and nose, curved lines should be drawn to create the dog’s neck and shoulders. A few short lines at the bottom of the head will add detail.
Step 6: Drawing the Front Leg

The line should continue downward from the dog’s side to begin drawing the front leg. Curved lines with pointed edges will help show the fluffy chest. Another curved line should be drawn from the chest to complete the leg. At the bottom, the line must curve back up to overlap, forming the paw. Small curved lines on the paw will represent the toes.
Step 7: Adding the Other Front Leg and the Back Leg

Step 7: Adding the Other Front Leg and the Back Leg
The second front leg should be drawn using curved lines that meet at pointy ends. Like before, the inner line should curve back on itself to close the leg and form the paw. Short lines on the paw will show the toes. Since the dog is sitting, the back legs will be bent. Two curved lines should be used to outline the first back leg.
Step 8: Completing the Other Back Leg

To finish, the other back leg and its paw should be drawn using curved lines. Short lines will help show the toes and the bend in the leg.
Step 9: Complete the Puppy Dog:

Fill the color of your own to complete the cute puppy dog pencil sketch image.