How to Draw Cute Owl Face? (Step by step Drawing Tutorial)
Step by Step methods to Draw a Owl Face using Pencil as a Sketch for kids and beginners.

Hello Everyone, Welcome to KidsHobbys.com. This post will teach you how to draw Cute Owl face in easy steps. All steps are explained with step by step drawing images in order for you to reach your goal towards drawing a cute owl face. So lets start drawing! At the end of the article, there is a surprise waiting for you!
| Category | Details |
|---|---|
| Tools Used: | Pencil, A4 Paper, Eraser (Rubber). |
| Duration: | 5 to 15 Minutes |
| Difficulty: | Medium |
| For: | Kids, Beginners. |
| Suitable Ages: | 3 -10 |
Step 1: Drawing the Owl’s Eyes
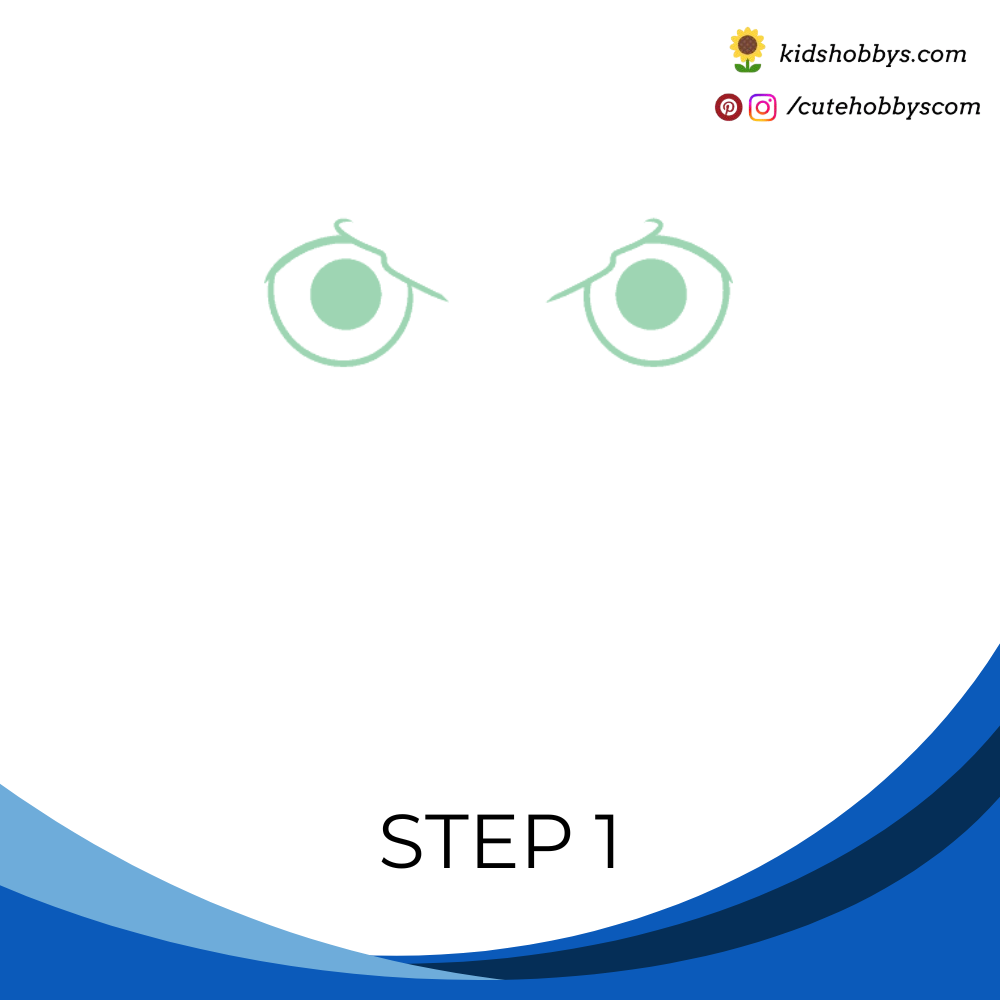
The drawing begins with two sideways oval shapes, similar to eggs lying on their sides. Inside each eye, smaller circles should be added. Then, loose, sketchy lines should be drawn overlapping the eyes. This will create a look similar to a cartoon owl’s eyes.
Step 2: Adding the Feathery Eyebrows
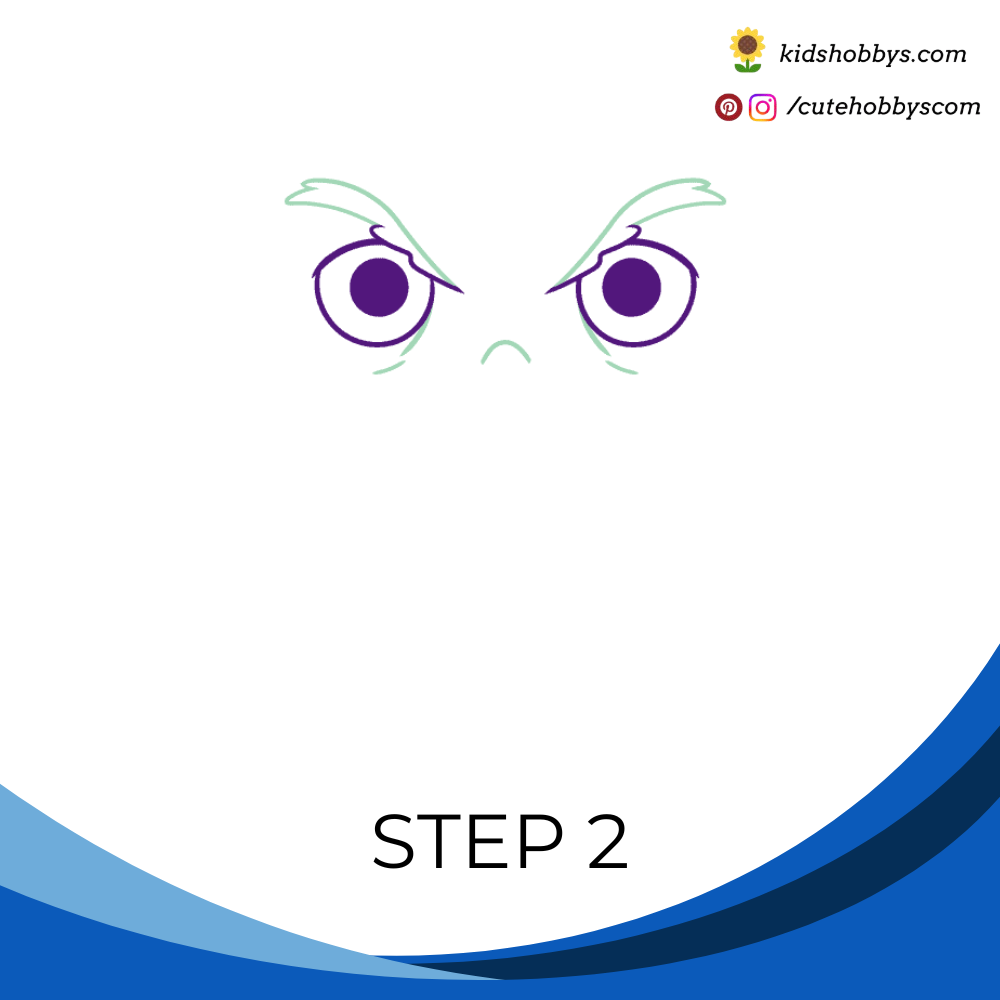
A loop should be drawn between the eyes. Next, curved lines should be sketched around the eyes. Above them, narrow triangles should be loosely drawn to create feathery eyebrows.
Step 3: Drawing the Beak and Surrounding Feathers
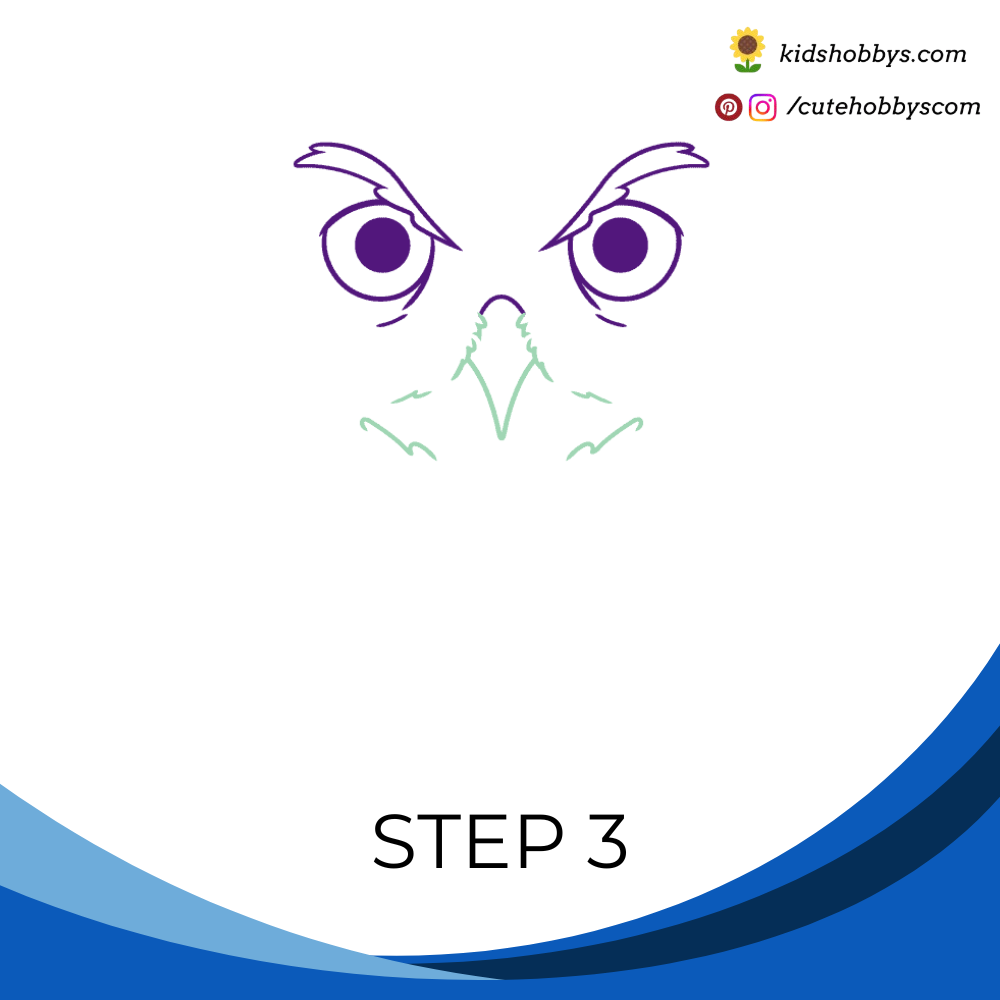
A deep “V” shape should be drawn to form the beak. Around the beak, more sketchy lines should be added to outline the feathers. These lines do not have to be perfectly even but should remain parallel to each other.
Step 4: Outlining the Face
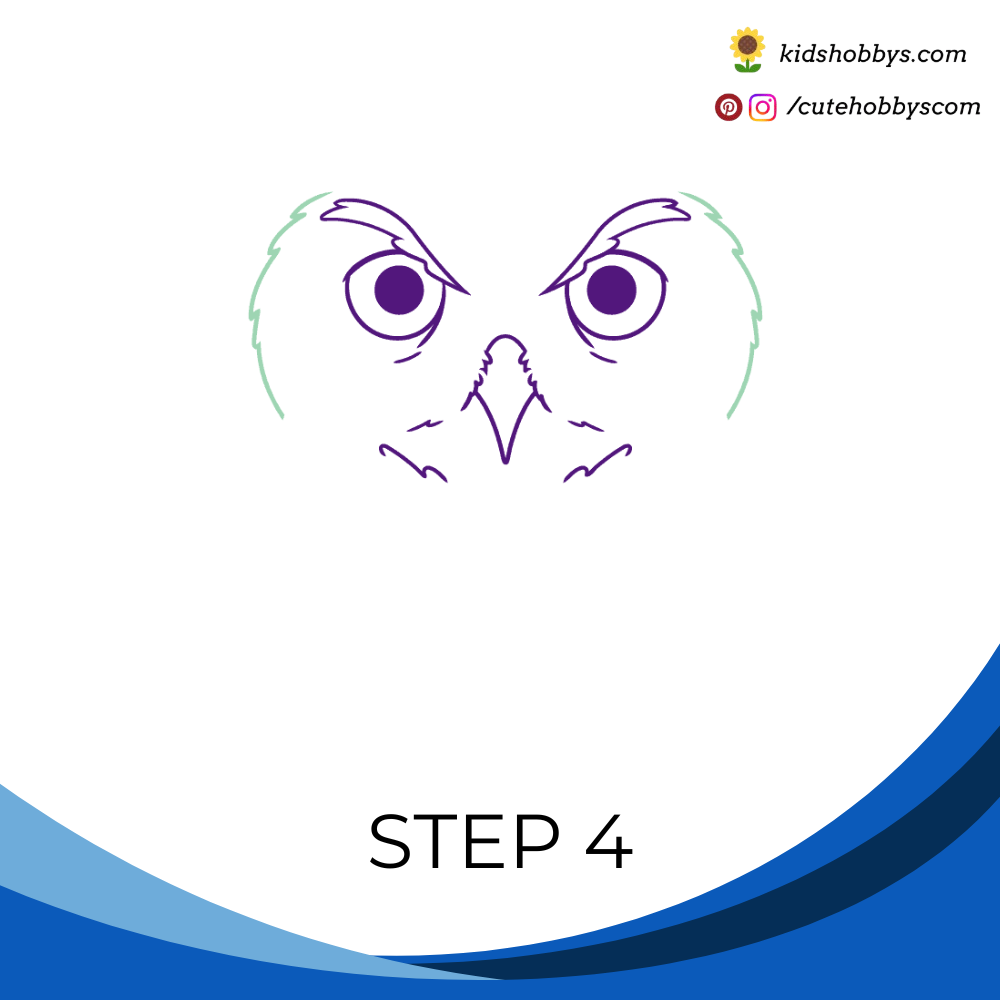
Sketchy lines should be drawn around the face to form curved shapes, similar to parentheses. These lines will help shape the owl’s head.
Step 5: Adding the Wings

On each side of the head, a diagonal line should be sketched, pointing upward. A triangle should be drawn, followed by two overlapping oblong shapes. These shapes will help form the owl’s wings.
Step 6: Connecting the Features
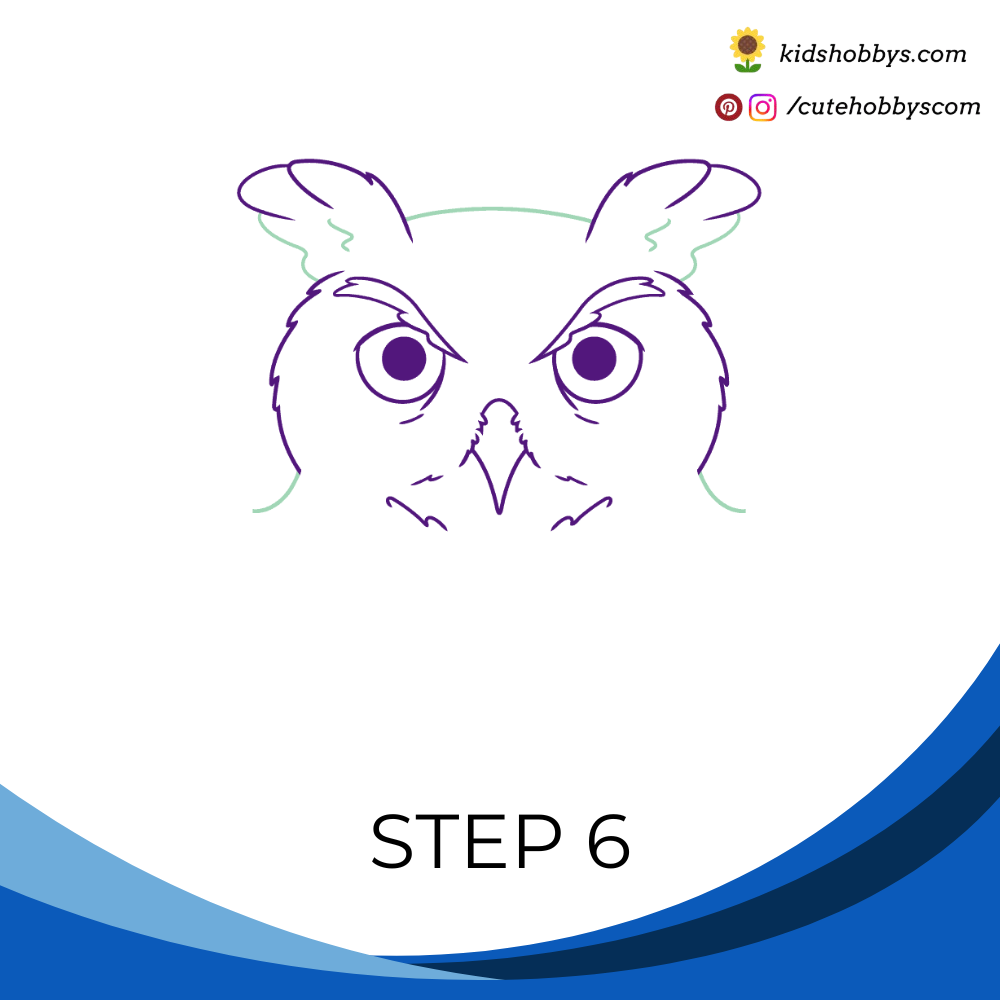
A curved line should be used to connect the shapes from the previous steps. Wavy lines can be added to complete the feathers. Short curves should also be drawn on both sides of the head for extra details.
Step 7: Shaping the Body
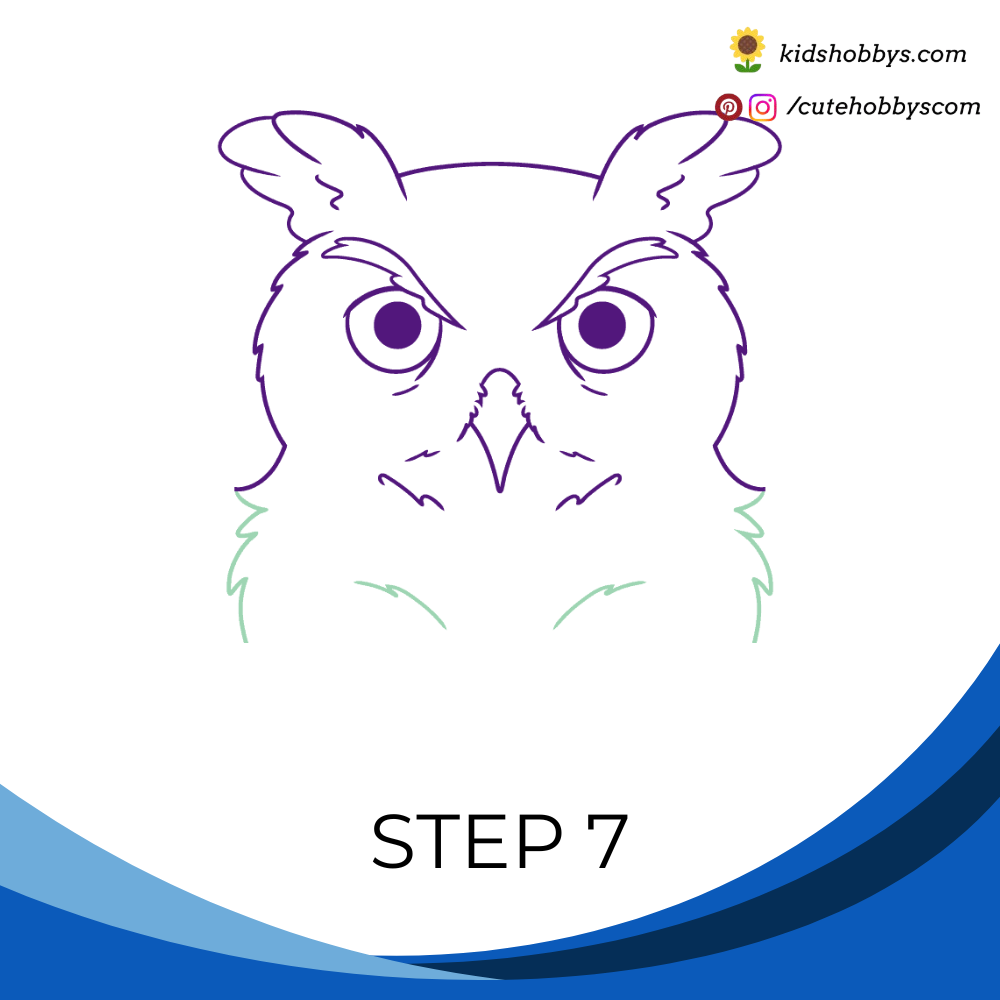
Curved triangles should be drawn on both sides to outline the body. Below the head, two parallel lines should be sketched to define the owl’s chest.
Step 8: Adding Texture to the Feathers
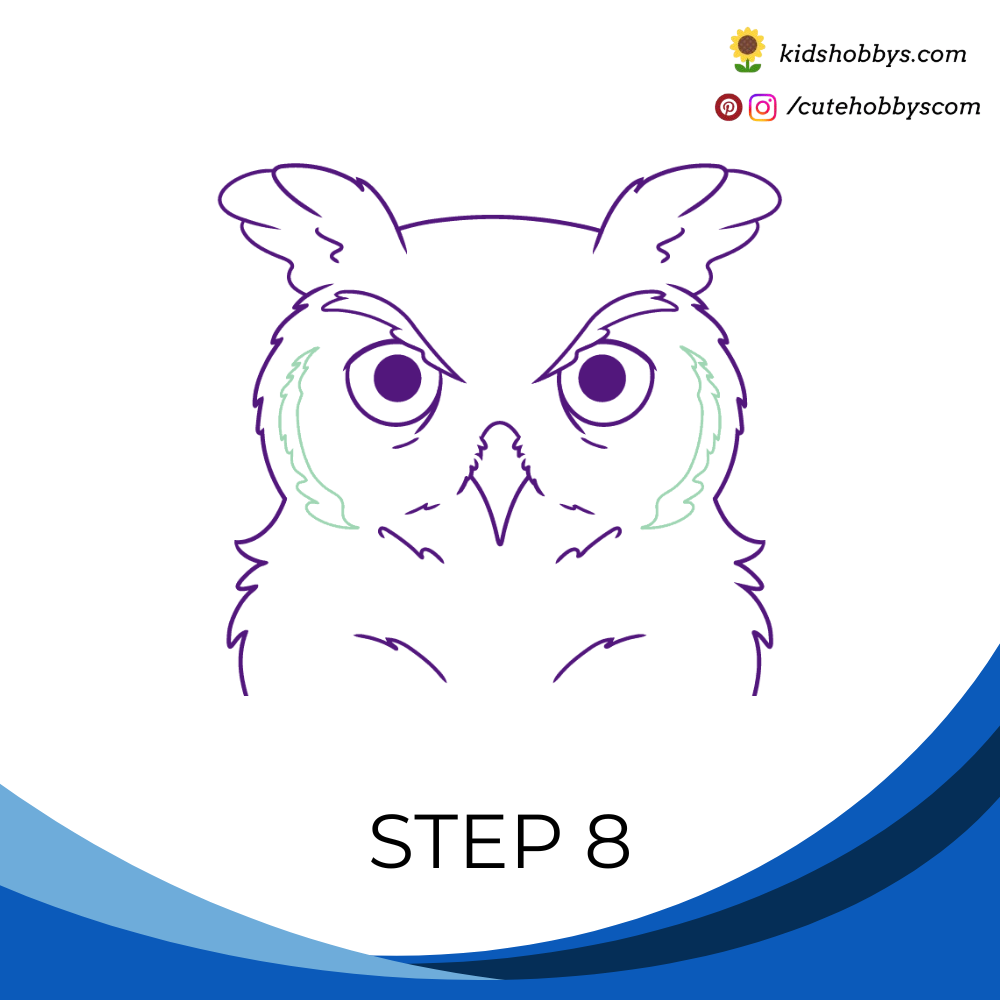
To give the owl’s face a more realistic look, wavy and scraggly lines should be drawn around the frame. These lines will add texture and detail to the feathers.
Finally, Our Cute Owl Face is Ready to Go!
The Surprise is here! Cute Owl Face Coloring Book
Get ready to start coloring your cute Owl Face with our special coloring tool and download it and save it to your device or print your kids artistic work.
Stay Tuned to KidsHobbys.com!
By following these simple steps, a detailed and realistic owl drawing can be created. Starting with the eyes and beak, then gradually adding feathers, wings, and body structure, the drawing takes shape step by step. The use of loose, sketchy lines adds texture, making the owl look more natural. With patience and practice, anyone can create a beautiful owl illustration. Keep practicing, and soon drawing an owl will become even easier! For more interesting tutorials, stay tuned to Kidshobbys.com.
Drawing References:
- Referred from the youtube video named How to Draw an Owl Easy🦉 Emoji
- Referred from the youtube video named How To Draw Great Horned Owl | Sketch Tutorial
- Referred from the youtube video named How To Draw An Owl | Owl Drawing | Draw Smart
- Referred from the youtube video named How To Draw a Great Horned Owl | Step By Step Sketch Tutorial.


