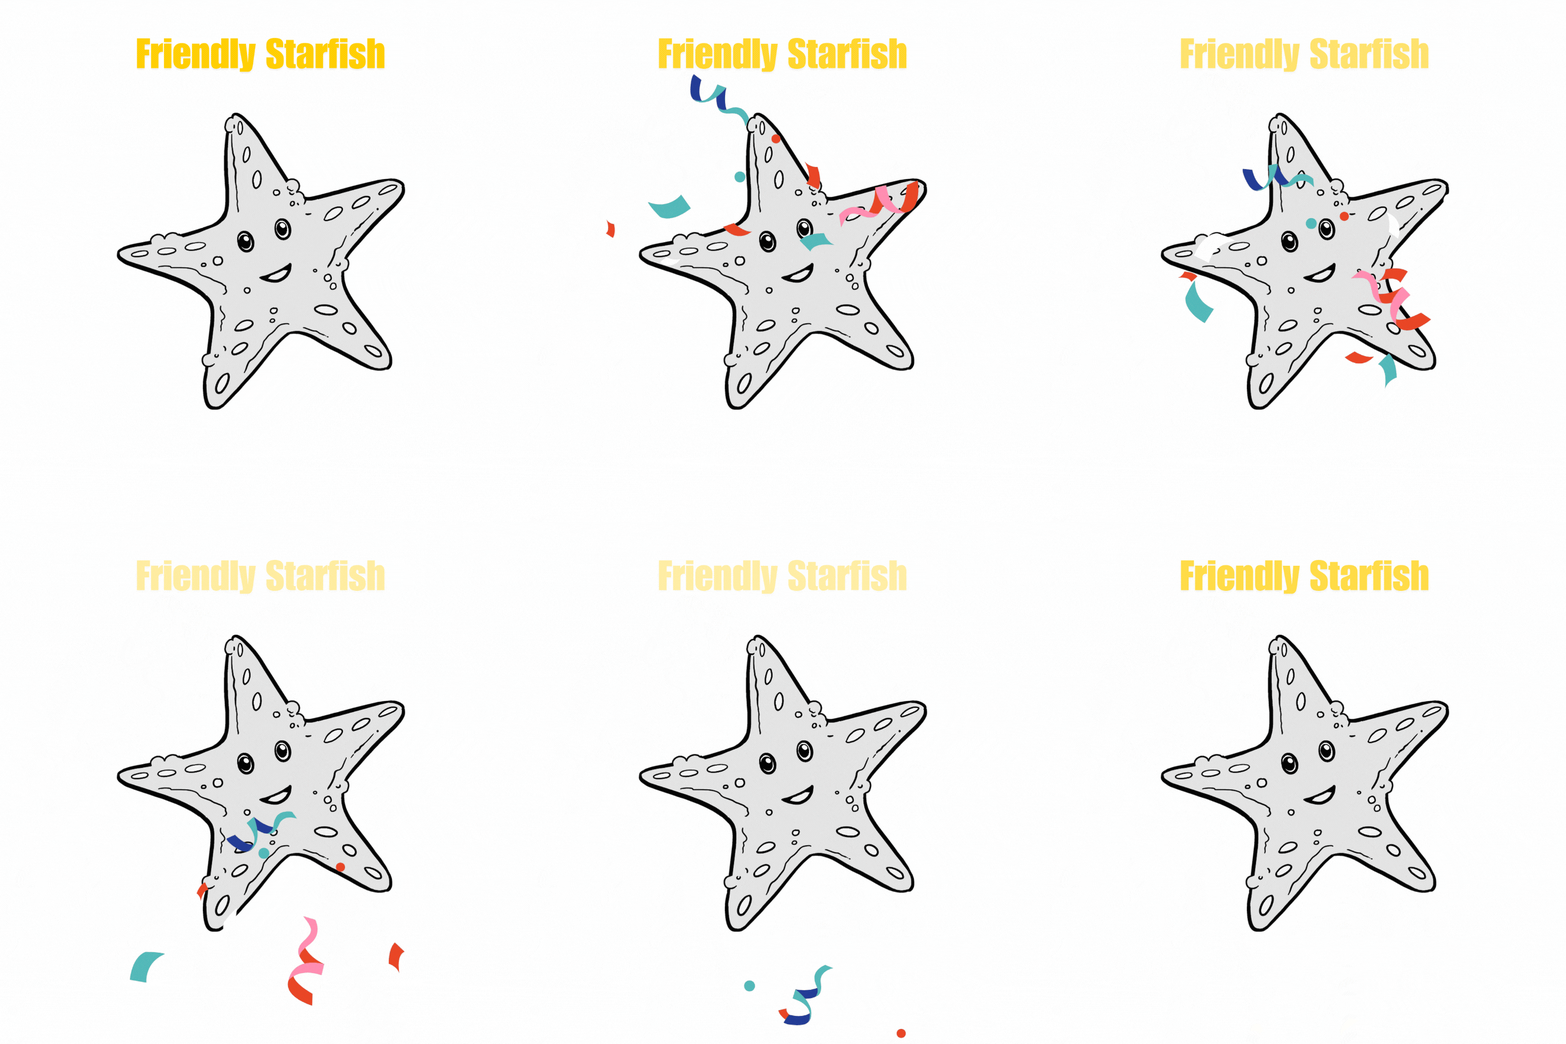
How to Draw Cute StarFish Using Pencil for Kids?
Step by Step Tutorial to draw Cute Star Fish

In this tutorial, I’ve posted the step by step methods to draw a cute star fish using pencil as a sketches. This tutorial can be suitable for the beginners who are learning to draw cute animal images for their kids or kids learning to draw the images.
| Category | Details |
|---|---|
| Tools Used: | Pencil, A4 Paper, Eraser (Rubber). |
| Duration: | 10 to 15 Minutes |
| Difficulty: | Medium |
| For: | Kids, Beginners. |
| Suitable Ages: | 3 -10 |
Step 1: Start with the First Arm

Begin by drawing a curved line shaped like an upside-down letter “V.” Make sure the edges of the “V” curve outward. This will be the first arm of the starfish.
Step 2: Add More Arms

From the edges of the first “V,” draw another rounded “V” shape on each side. Now, your starfish has three arms.
Step 3: Complete the Starfish Shape

Draw two more rounded “V” shapes to form the last two arms. Now, the outline of the starfish is complete with five arms.
Step 4: Draw the Starfish’s Eyes

In the center of the starfish, below the first arm, draw two ovals for the eyes. Inside each oval, draw a smaller oval, and then an even smaller one inside that. Shade the space between the two smallest ovals to create the pupils.
Step 5: Add a Smiling Mouth

Draw the starfish’s mouth as a wide smile using two curved lines. Inside the mouth, add a curved line for the tongue. Shade the mouth area outside the tongue.
Step 6: Draw the Tube Feet

Now, start drawing the tube feet, which help the starfish move. Draw a series of small ovals down the middle of the first arm.
Step 7: Add Tube Feet on All Arms

Repeat the process by drawing small ovals along each of the remaining four arms.
Step 8: Add Details and Texture

To make the starfish look more realistic, draw wavy curved lines near the edges of its body. Then, add small circles of different sizes across the starfish to create texture.
Step 9: Final Touches and complete the Starfish Drawing

Give the starfish even more texture by adding small bumps along the sides of its body. Use “U” shaped curved lines to make these bumps. Erase any extra lines that are not needed.
There You have it!

Fill the color of your own to complete the cute Star Fish
Content References:
- Referred from youtube video named “How to DRAW a STARFISH Easy Step by Step” from Happy Art youtube channel retrieved on 11/03/2025.
- Referred from youtube video named “How to DRAW a Funny STARFISH” from Art for Kids HUB retrieved on 11/03/2025.


